- TrueNAS
- How to install TrueNAS Scale as VM on Proxmox
- Create a Proxmox VM (Proxmox VE Version 8.4.1)
- TrueNAS Scale 25.04.0 Installation process
- First Greeting error: terminal serial’ isn’t found.
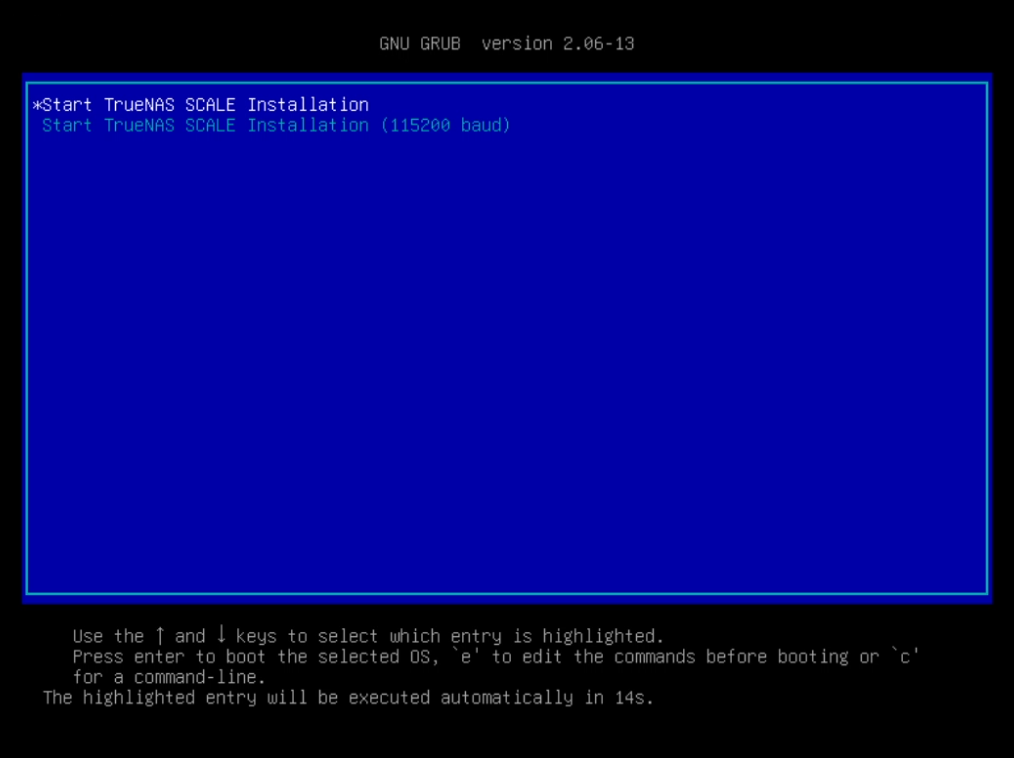
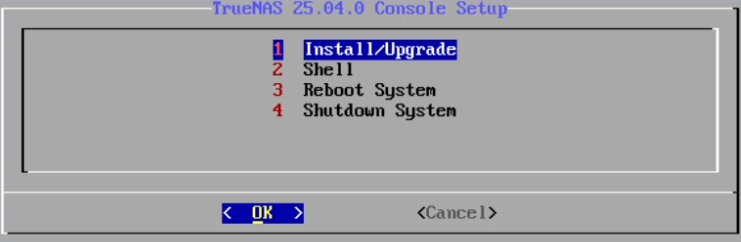
- Start TrueNAS SCALE Installation menu
- Installation configuration : Install/Upgrade
- Installation configuration : Choose Destination Media
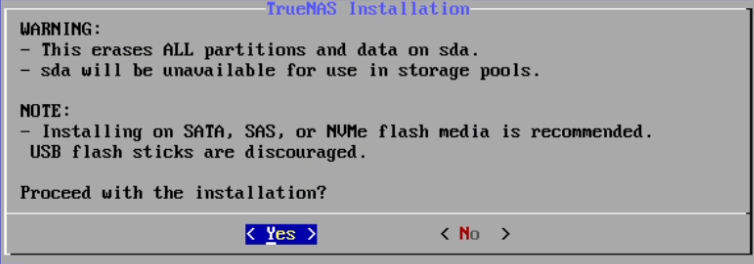
- Installation configuration : WARNING
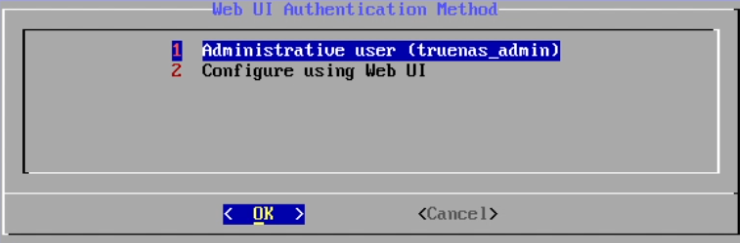
- Installation configuration : TrueNAS Scale Web UI Authentication Method truenas_admin or root
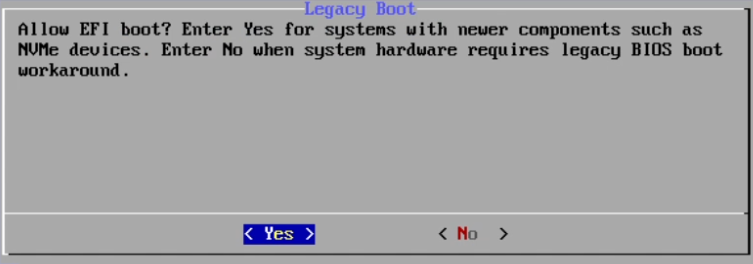
- Installation configuration : Allow EFI boot?
- Installation configuration : Progress
- Installation configuration : Succeeded
- TrueNAS Scale : Reboot System
- TrueNAS Scale : GRUB Loader
- TrueNAS Scale : System is Up
- TrueNAS Scale : Setup local administrator
- TrueNAS Scale : Login Screen
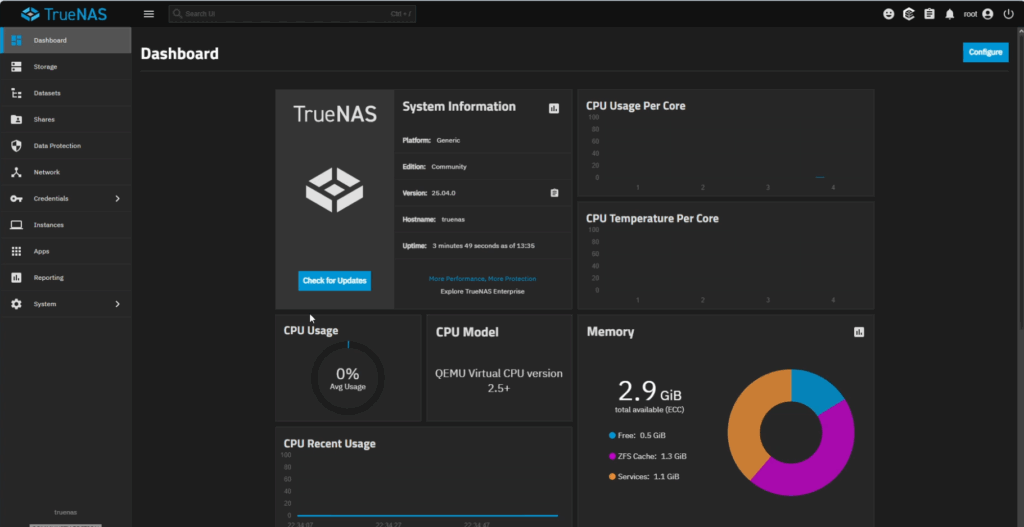
- TrueNAS Scale : Dashboard
- How to install TrueNAS Scale as VM on Proxmox
TrueNAS is a free, open-source operating system used for building network-attached storage (NAS) systems. It’s designed to store, share, and protect data across a network, making it ideal for both home users and enterprises.
How to install TrueNAS as VM on Proxmox
- Create a Proxmox VM
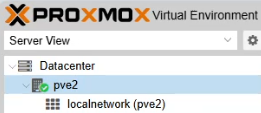
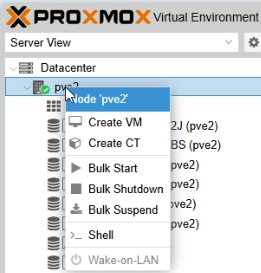
Logon to your Proxmox instance, and rigthclick on to your Proxmox Virtual Environment Host (PVE Host)
Then Click on Create VM
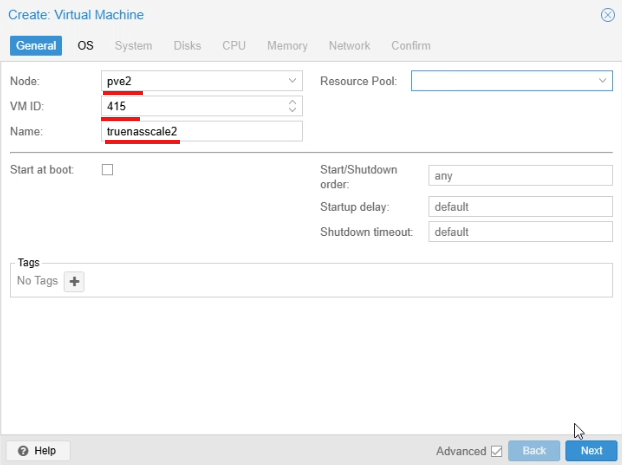
A Create Virtual Machine window pops up.
In the General tab, you have to select Node if you have multiple in the same PVE cluster. You can manually define the VM ID or let Proxmox automaticaly chose the next free ID and you have to give the VM a name. Click NEXT.
In the OS tab we chose the Source where we are going to install the OS from. So I chose Use CD/DVD disc image file (ISO). As storage i chose local, because thats where i Downloaded the TrueNAS Scale Iso. (How to Upload/download ISO files to Proxmox VE). And as ISO image i chose TrueNAS-SCALE-25.04.0.iso image. Click NEXT.

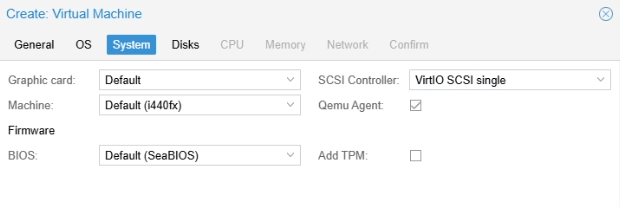
In the System tab i leave everything as is, except I click on that Qemu Agent checkbox. Click NEXT.
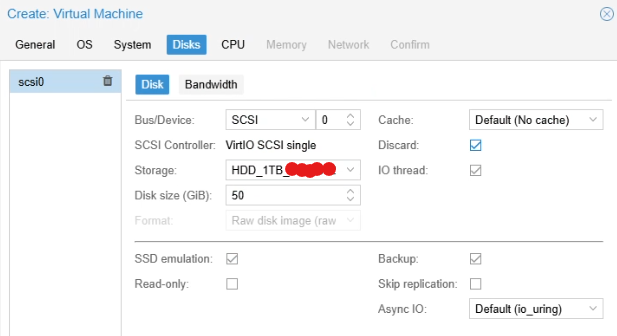
In the Disks tab we have prepare the Storage for the OS. As for Bus/Device i chose SCSI, As Storage i chose the storage of choice, in this case it is a single HDD (How to add Storage to Proxmox VE). And size 50 GB. Aditionaly checking Discard, SSD emulation and Backup checkboxes. Click NEXT.
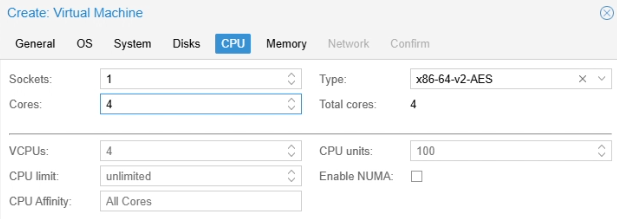
In The CPU tab, i give it 4 cores because thats what i have. Click NEXT.
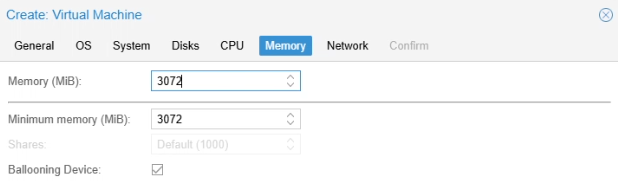
In The Memory tab, i give it 3GB but 8GB is Recomended. Click NEXT.
In The Network tab, a lot depends on your network setup or like in this case, mine. I leave Bridge as is, I add VLAN tag of the network i want the TrueNAS to be in. I uncheck the Firewall checkbox because i dont want to manage Firewall rules in Proxmox. Click NEXT.

In the Confirm tab it is the overview of the VM configuration, if everything is ok click Finish.

After a few moments the VM will apear in the Datacenter PVE overview
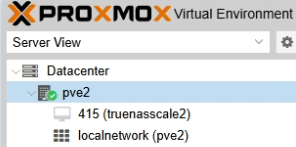
Now Lets start the VM, I usualy click on the VM the on console …
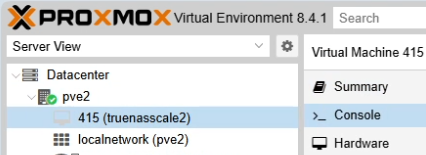
… and i click on one of the two Start buttons to Start the VM.

And the VM starts Booting.

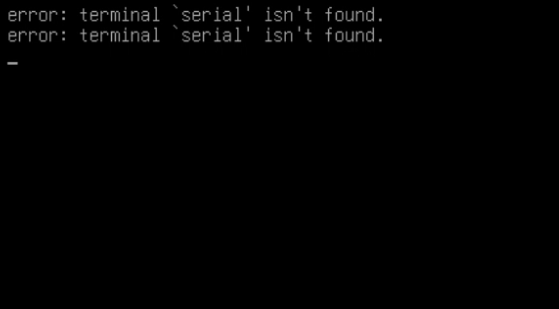
First Greeting error: terminal serial’ isn’t found. I ingore it and continue.
TrueNAS Scale Installation configuration : chose Install/Upgrade and hit OK
TrueNAS Scale Installation configuration : Choose Destination Media in this case “sda” is uour HDD, and click OK.

TrueNAS Scale Installation configuration : WARNING that This erases ALL partitions and data on sda. I chose YES.
TrueNAS Scale Installation configuration : TrueNAS Scale Web UI Authentication Method. Now you can choose if later in the WEB UI you wanna login as truenas_admin or root.
If you chose Administrative user (truenas_admin) and click OK then you will authenticate with the truenas_admin when loging in. But if you want to login as root you can configure this later in the Console : Setup local administrator
TrueNAS Scale Installation configuration : Allow EFI boot? Enter Yes for systems with newer components such as NVMe devices. Enter No when system hardware requires legacy BIOS boot workaround. I Enter Yes
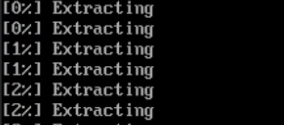
TrueNAS Scale Installation progress takes a couple of minutes
TrueNAS Scale Installation configuration Succeeded click OK.

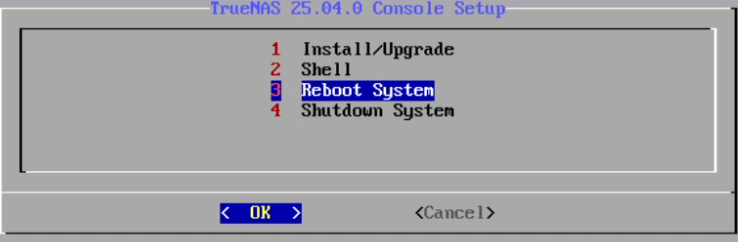
TrueNAS Scale Reboot System and hit OK
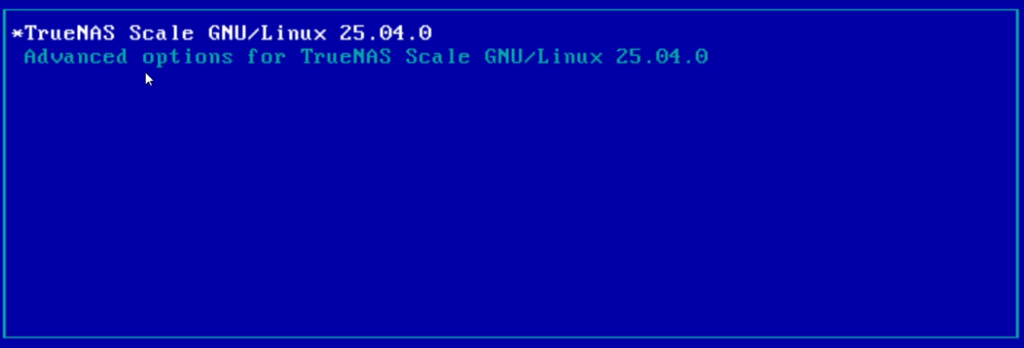
TrueNAS Scale GRUB Loader, wait 15 seconds or hit Enter.
TrueNAS Scale System is Up when you see this Console Setup
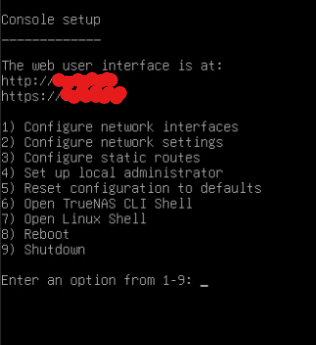
TrueNAS Scale Setup local administrator, press 4 on your keyboard to Setup local administrator, press 2 to use the root user and define the password for the user.
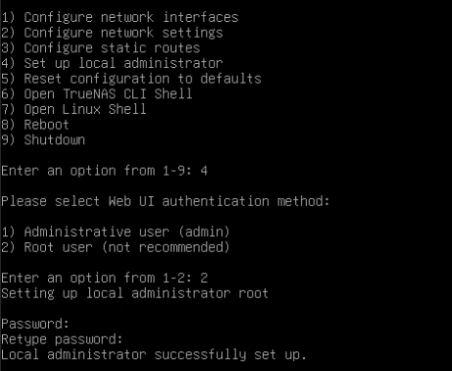
In the console you can configure also network interfaces, network settings, static routes, and so on. But since I dont have to do this in this case i will skip it.
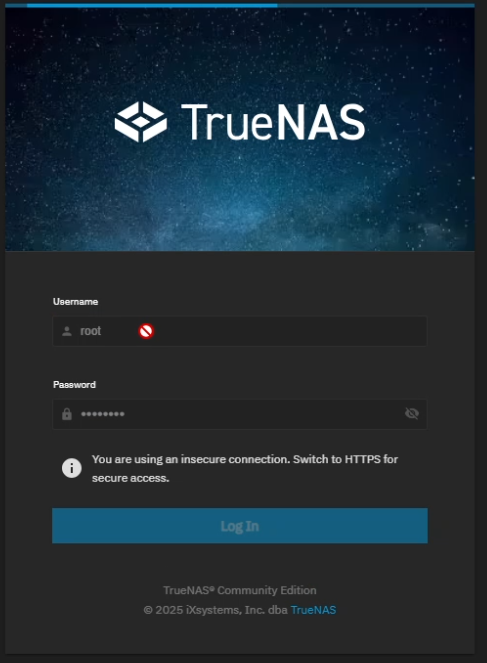
And since my TrueNAS already got the IP Address from DHCP i can login.
TrueNAS Scale : Login Screen
TrueNAS Scale : Dashboard – this menas you Successfuly installed TrueNAS Scale